
AI Image Generator for Game Art
Generate game art from a prompt or reference image: backgrounds, parallax layers, icons, UI, portraits, card art and textures. 21 asset types, 32 styles.
Ludo's Image Generator, shown making the pictures of a witch game in each of its modes:
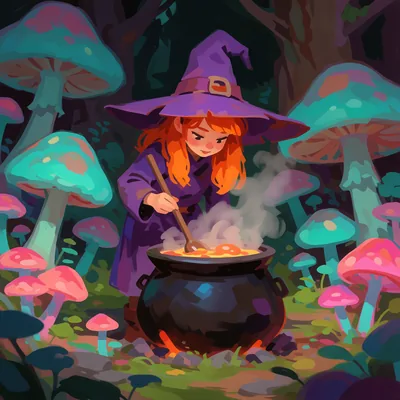
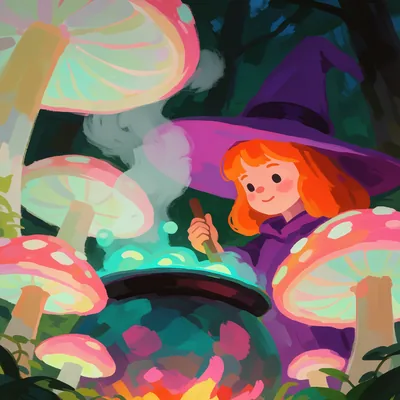
- Generate New: Create a completely new image from scratch The description "a young witch with a big purple pointed hat stirring a bubbling cauldron in a forest clearing full of glowing mushrooms", as Scene Art in the Hand-Painted style, returns pictures to choose from.
- Edit Image: Modifications with textual instructions A forest clearing and the instruction "make it night, with fireflies" return the same clearing at night, its layout kept.
- Generate from References: Create a new image using elements from the references The witch and the forest clearing as references, with "the witch standing on the path in this enchanted forest clearing, waving her wand", come together in one picture.
- Generate with Style: Create a new image adopting the style of the provided reference The witch as the style reference and "a treasure chest" return a chest drawn in her style.
- Edit with Mask: Substitute the masked area with new content The forest clearing with a patch brushed over and "a bubbling cauldron" put there; nothing outside the brush changes.
- Erase with Mask: Remove the selected masked area The forest clearing with a patch brushed over: what was there is taken away and the scene behind it filled in.
- Remove Background: Automatically remove the background from your image The key art of the witch with its background removed: the witch cut out on transparency.
- Upscale Image: Increase the resolution of your image, up to 4x (to at most 2048px) A small picture made bigger and sharper with Upscale Image, which goes up to 4 times the size.
- Convert to Pixel Art: Turn any image into pixel art, with the pixel size and number of colors you choose The chest made in the witch's style, converted at a Pixel Size of 6 px and 16 colors, comes back as pixel art on a true grid.

What is an AI image generator for game art?
An AI image generator for game art produces game-ready 2D assets from a text prompt or a reference image, in a chosen art style, and exports them as PNG with a transparent background where the asset needs one. Ludo.ai's Image Generator covers 21 asset types: scene and concept art, gameplay mockups, asset art, fixed, side-scrolling and vertical-scrolling backgrounds, parallax layers, game icons and item icons, UI elements, character portraits, card art, splash screens, textures, map tiles, logos, sprites, VFX sprites, horizontal and vertical tiling sprites, and scatter patterns. It offers 32 art styles, and a built-in editor lets you edit with a mask, generate in a reference image's style, erase objects, and remove backgrounds. Nine modes in all, including Upscale Image (up to 4x) and Convert to Pixel Art, which turns any image into clean pixel art. Twelve of those types can be animated into sprite sheets on the Sprite Generator: sprites, VFX sprites, horizontal and vertical tiling sprites, textures, map tiles, parallax layers, UI assets, item icons, portraits, card art and logos.
Last updated November 2026
How it works
- Choose a Mode & PromptPick one of nine generation modes (generate new, from references or in a reference's style, edit, upscale, or convert to pixel art), choose an image type like art, sprite, icon, or background, and describe what you want.
- Generate & RefineLudo.ai generates image variations. Use the integrated editor to inpaint with a mask, change the style, colors, or view, erase objects, or remove the background, then upscale the result up to 4x or convert it to pixel art.
- Export Your AssetDownload finished images as PNGs, with transparent backgrounds when you need them, ready to drop straight into your game project.
Every 2D Asset Your Game Needs

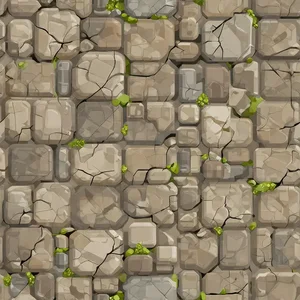
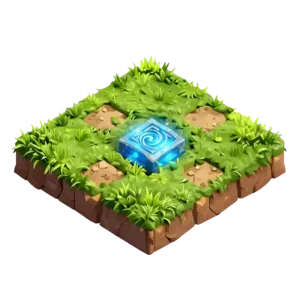
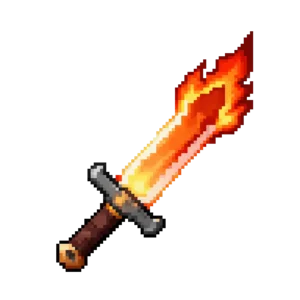
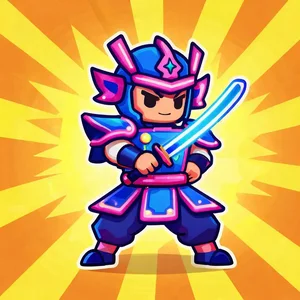
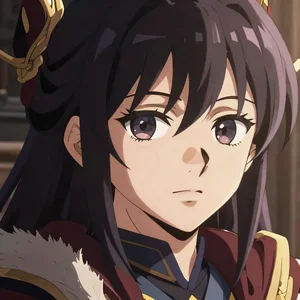
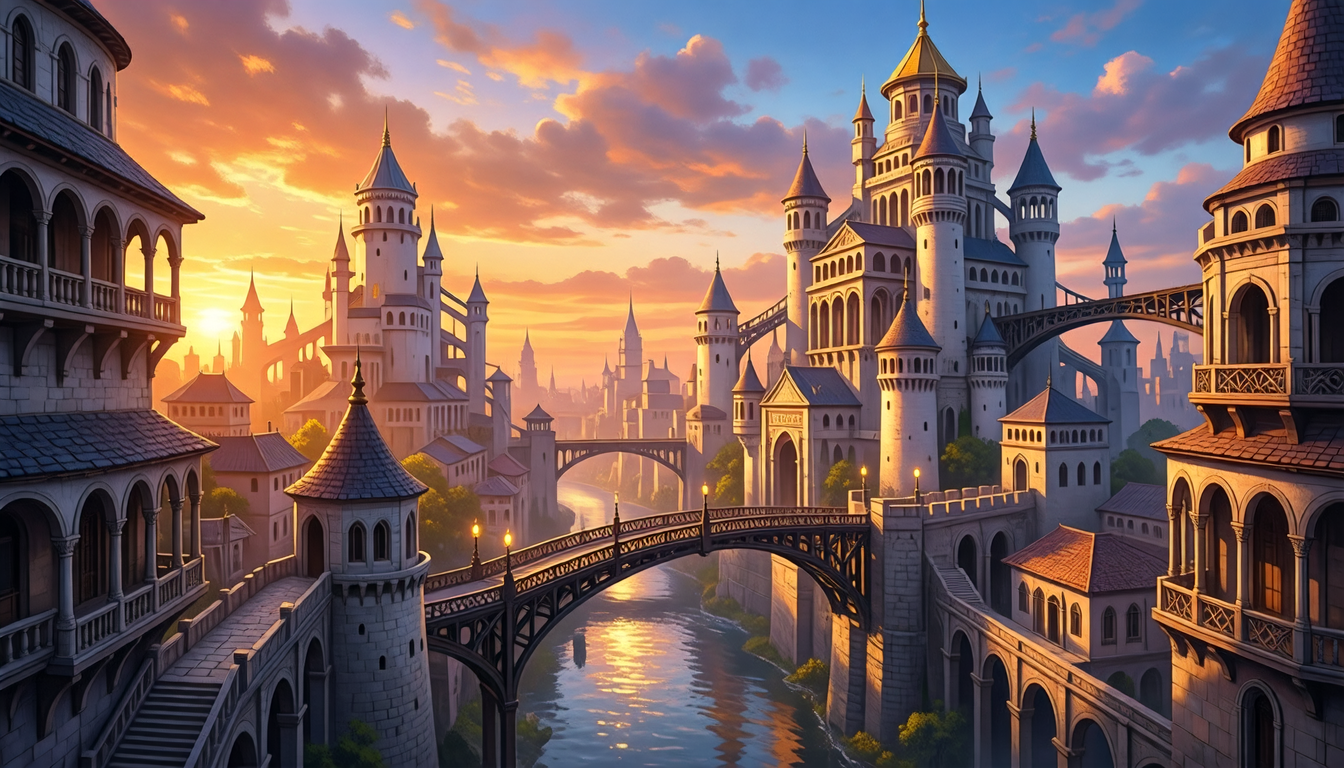
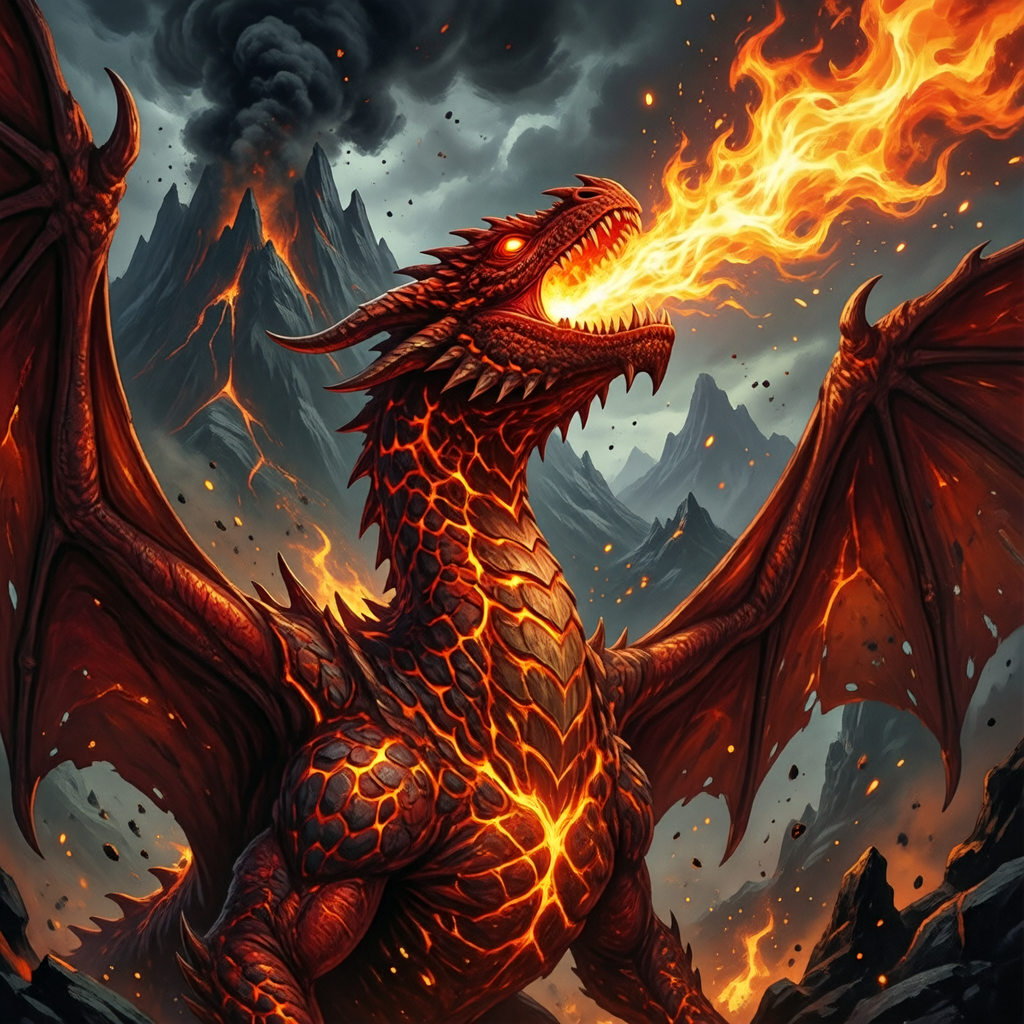
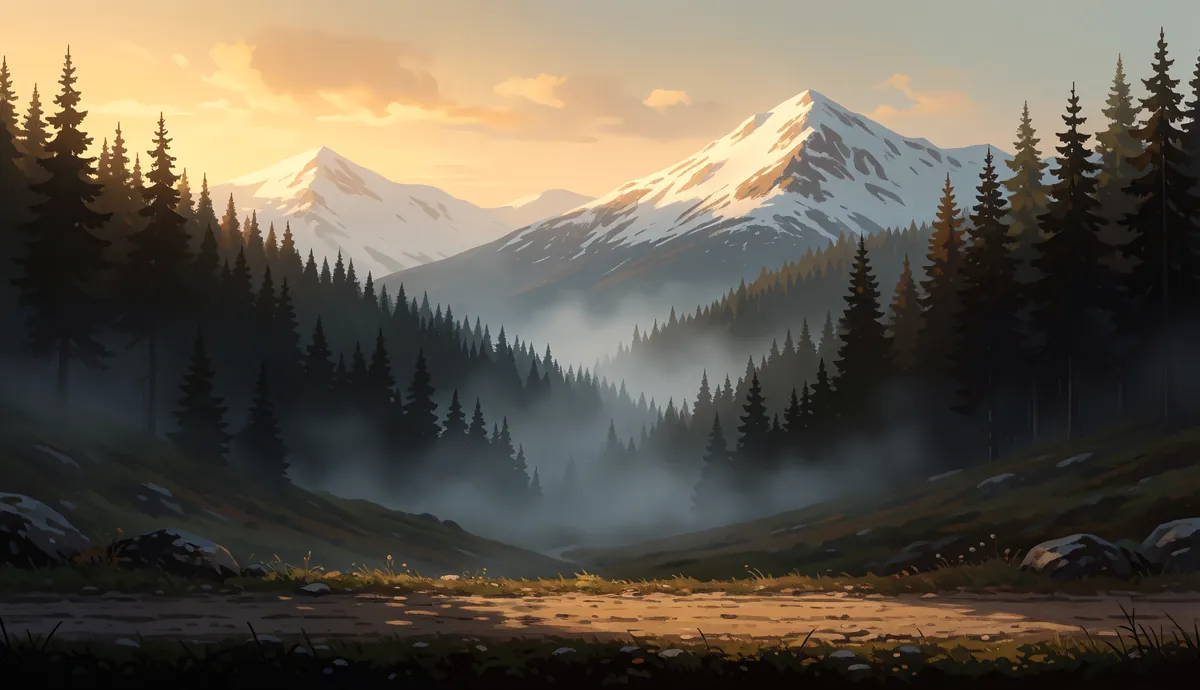
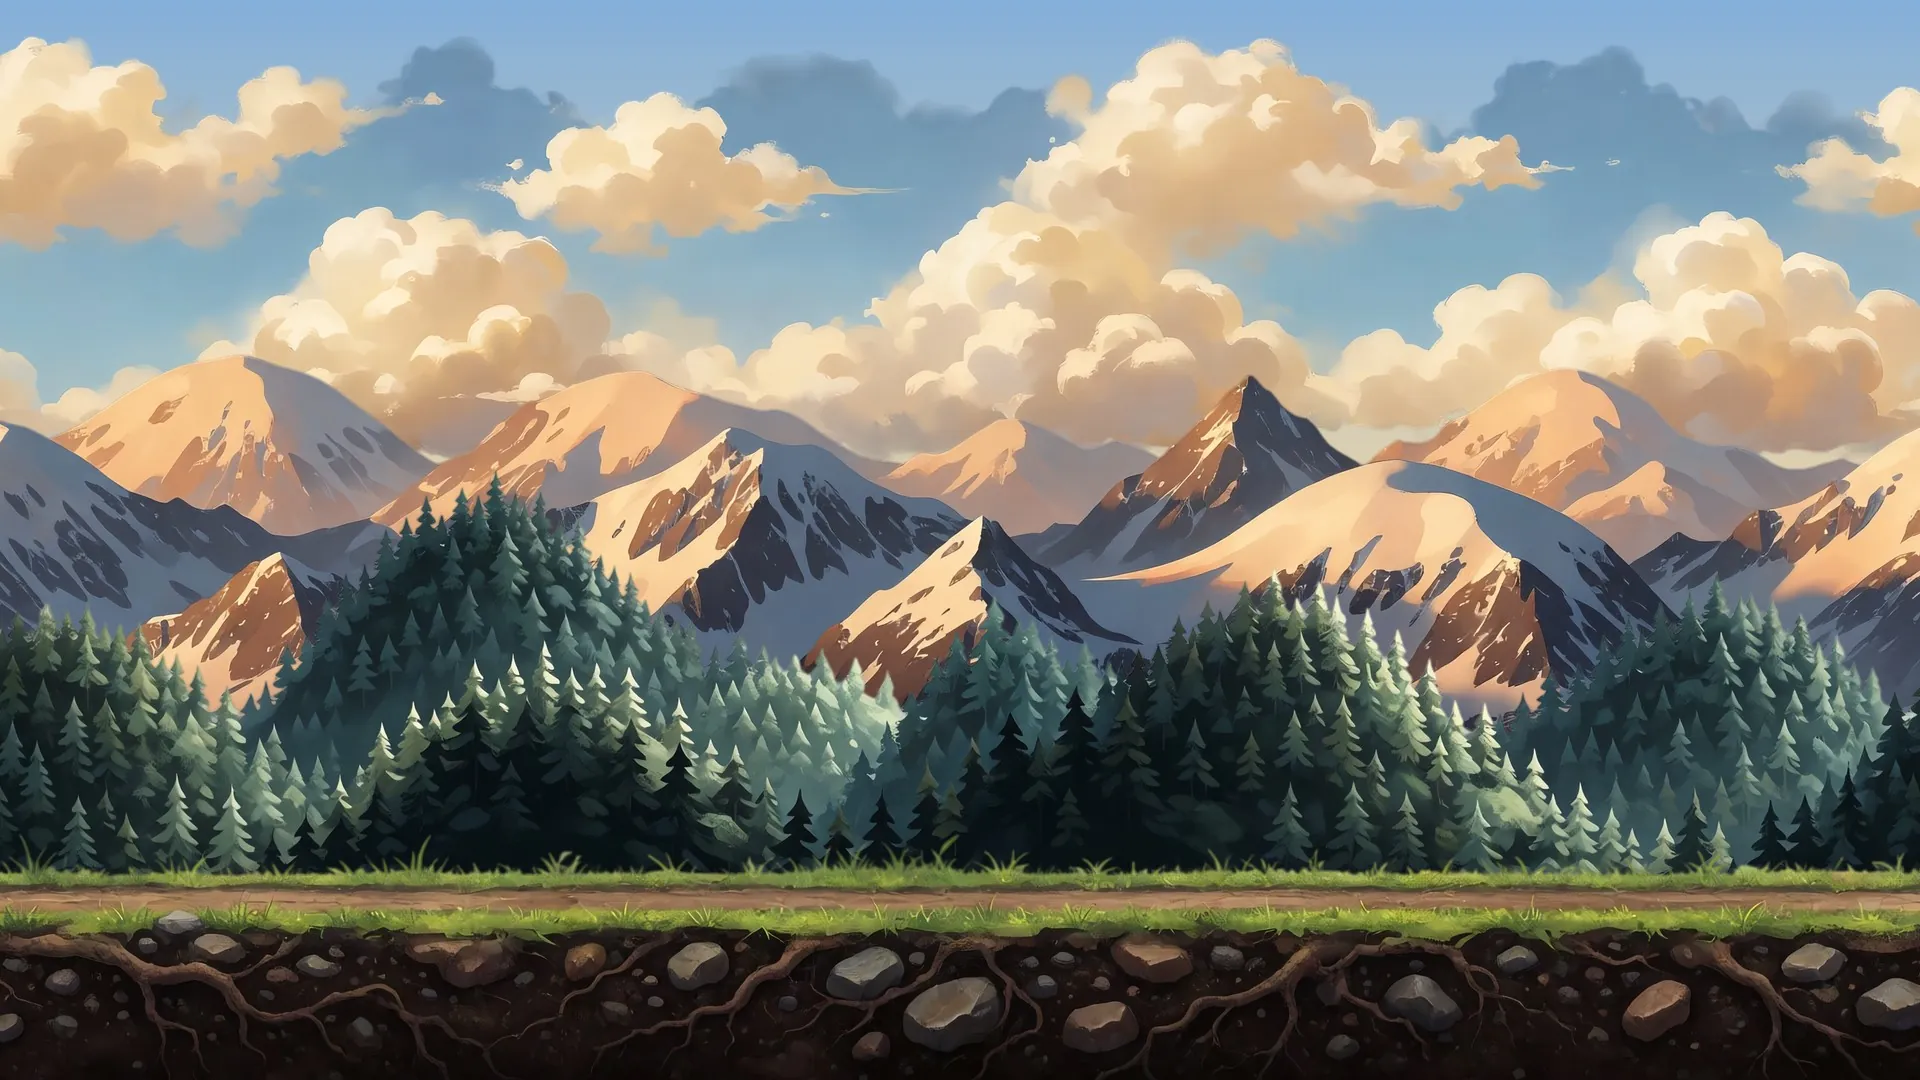
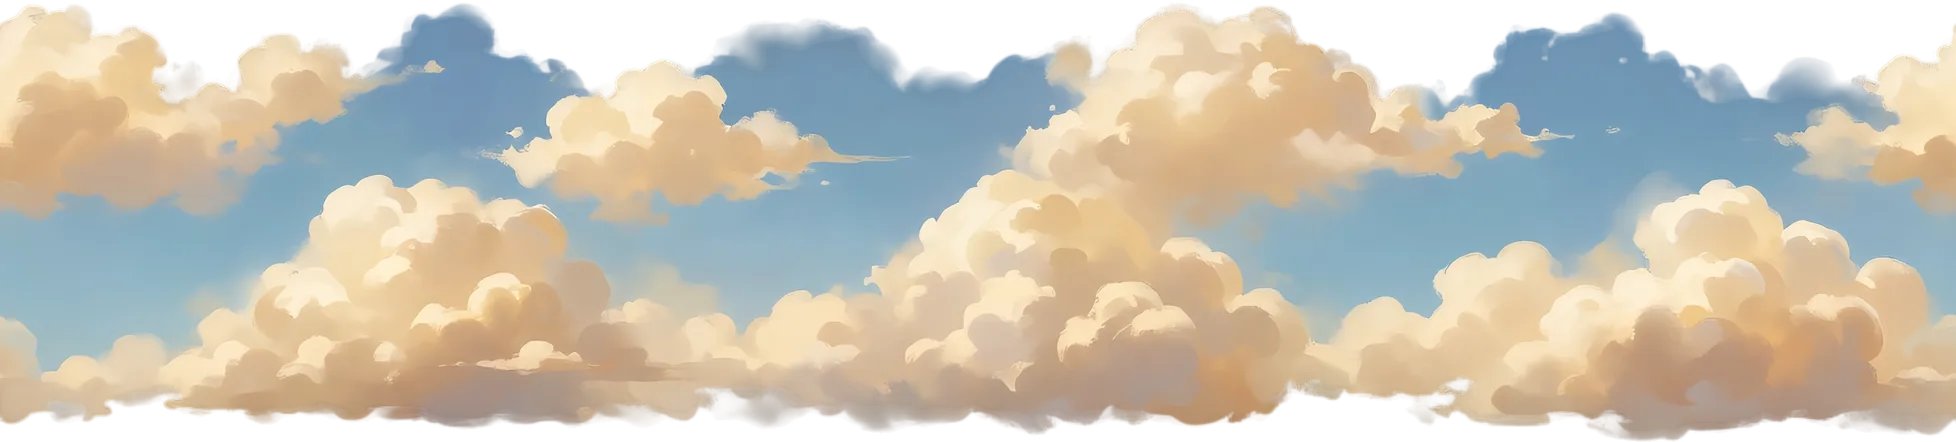
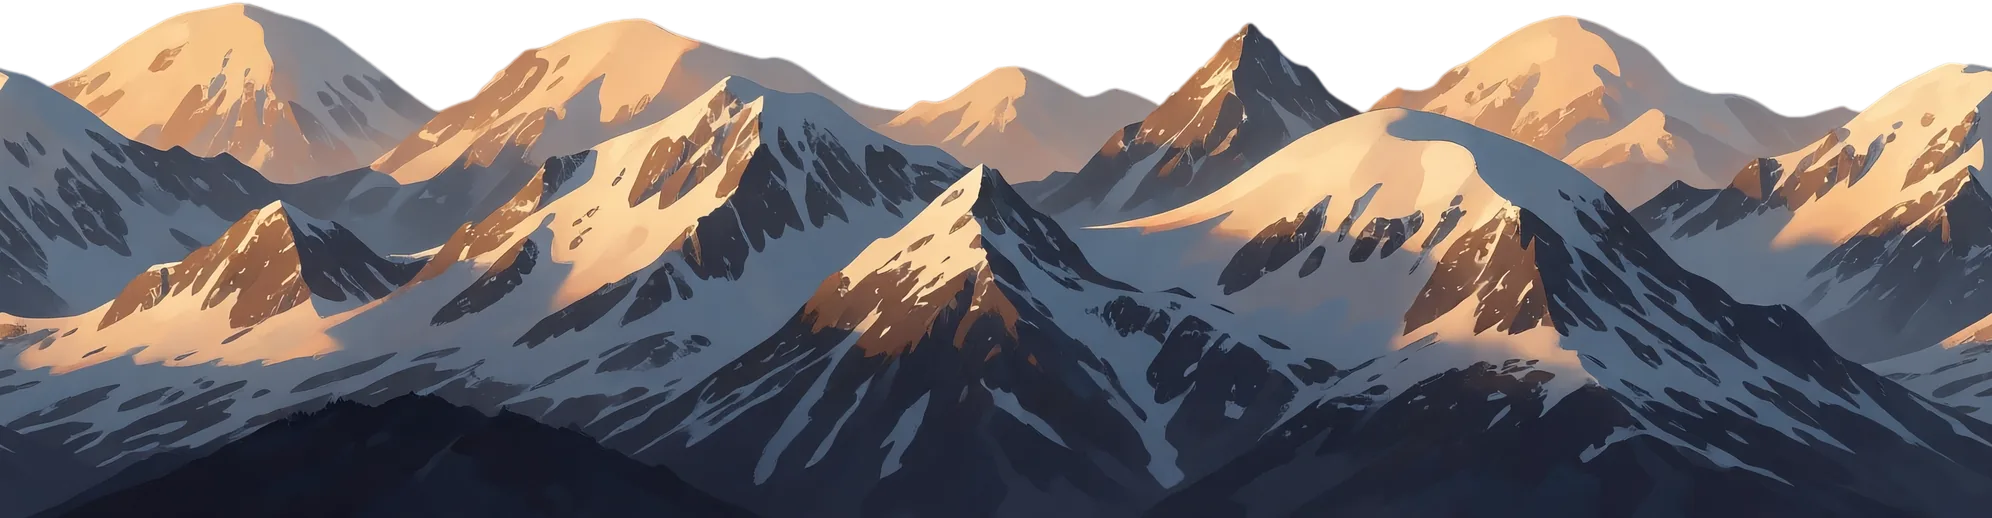
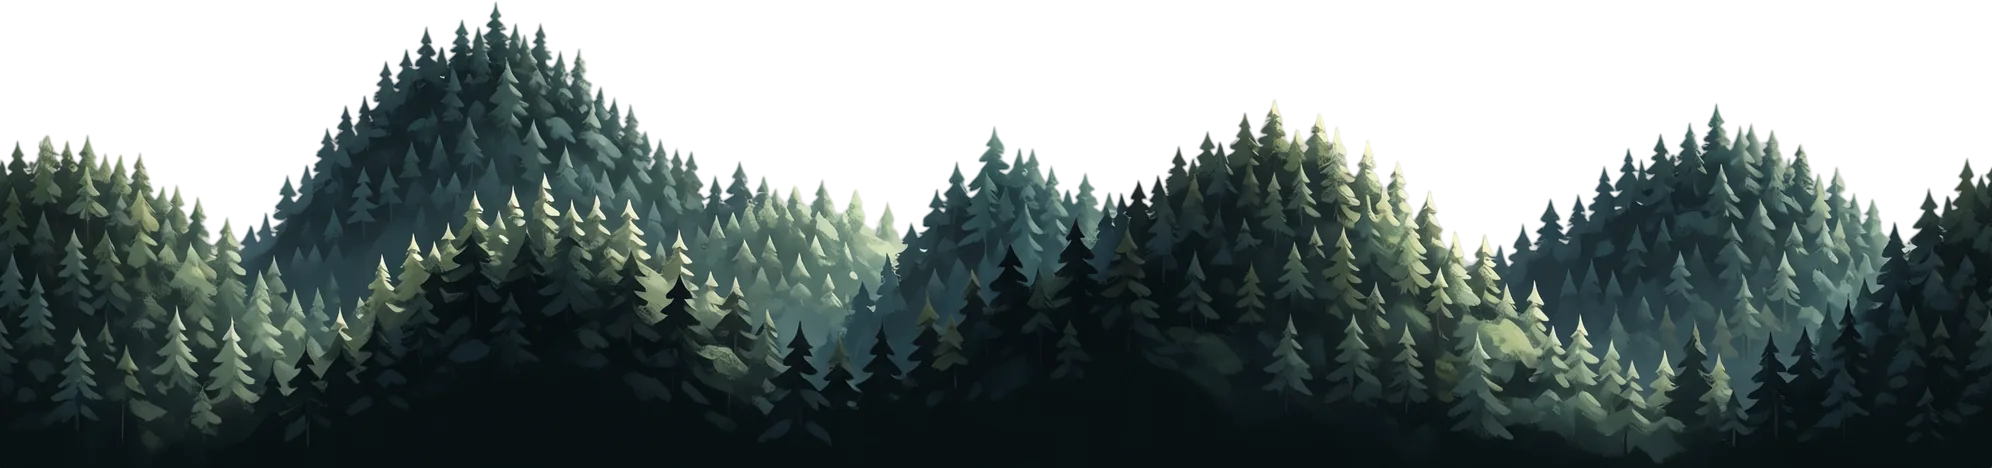
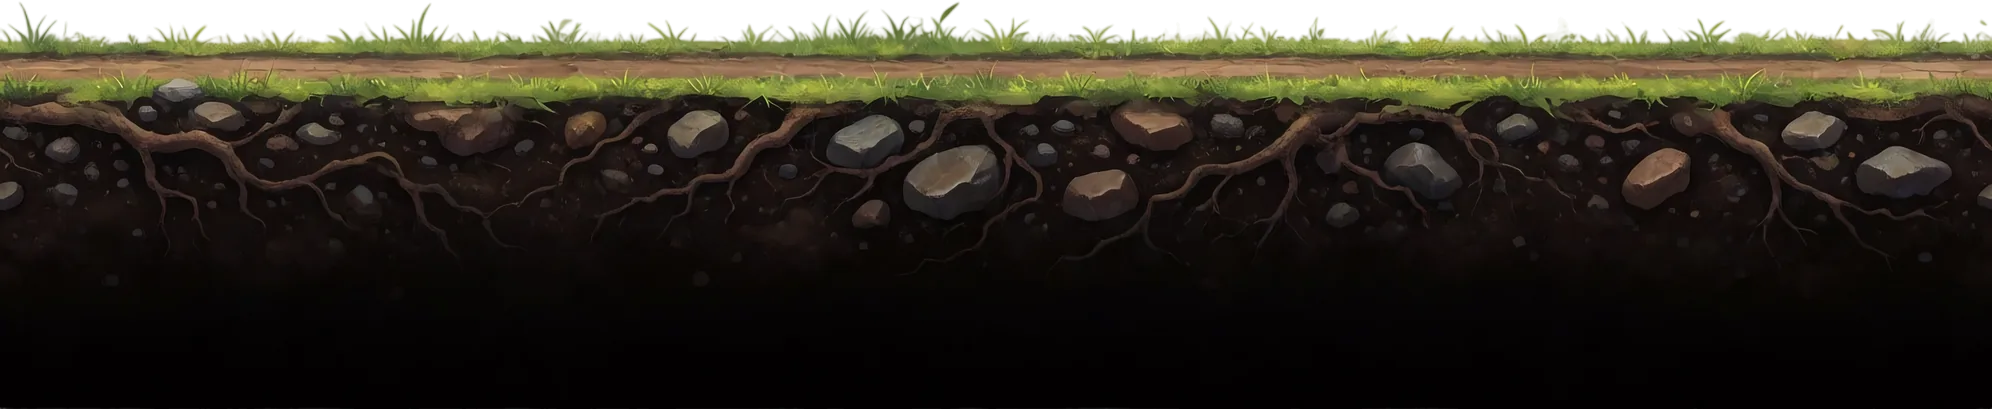
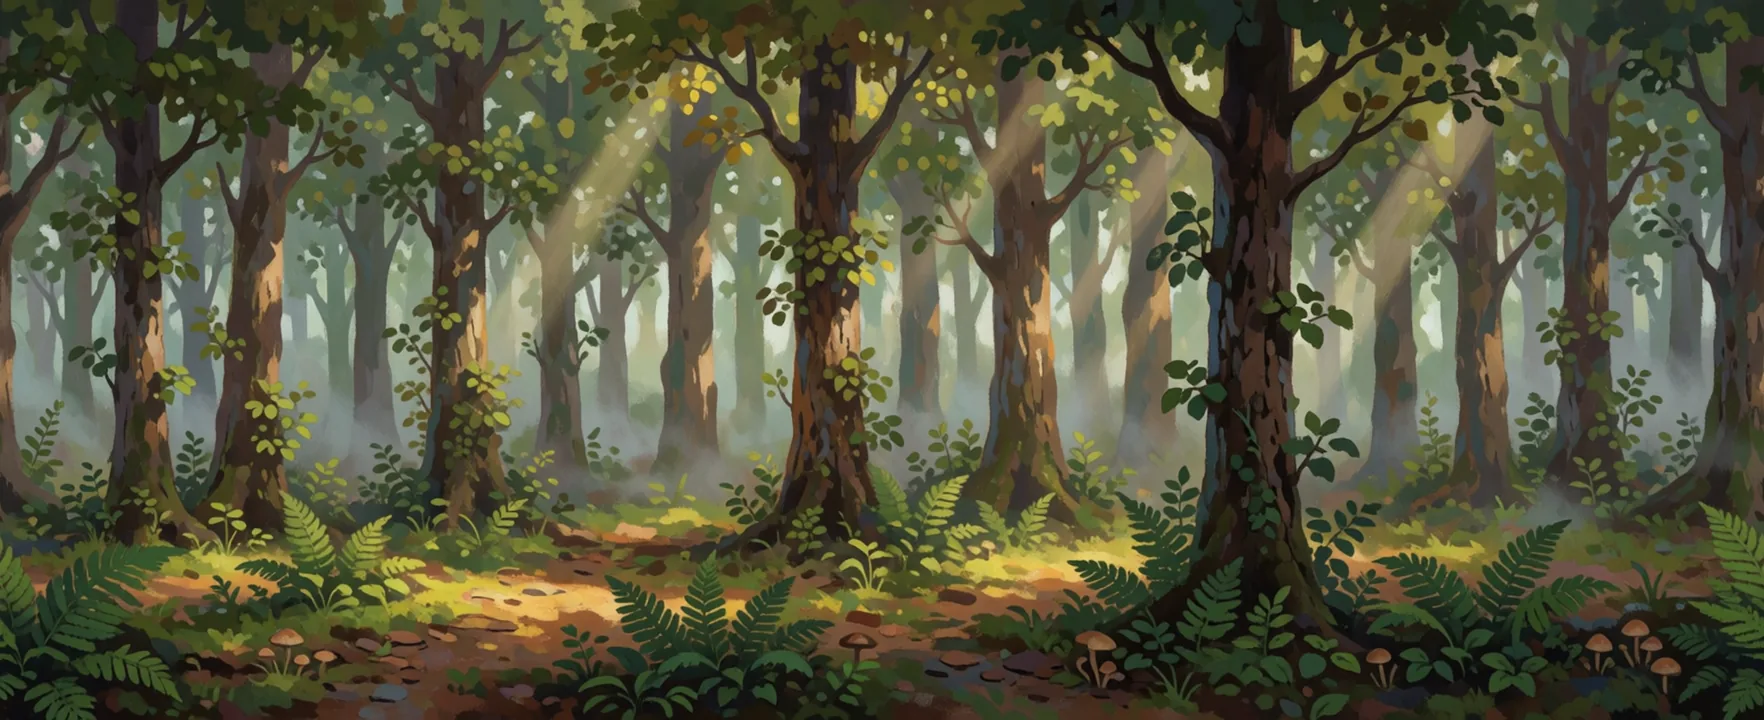
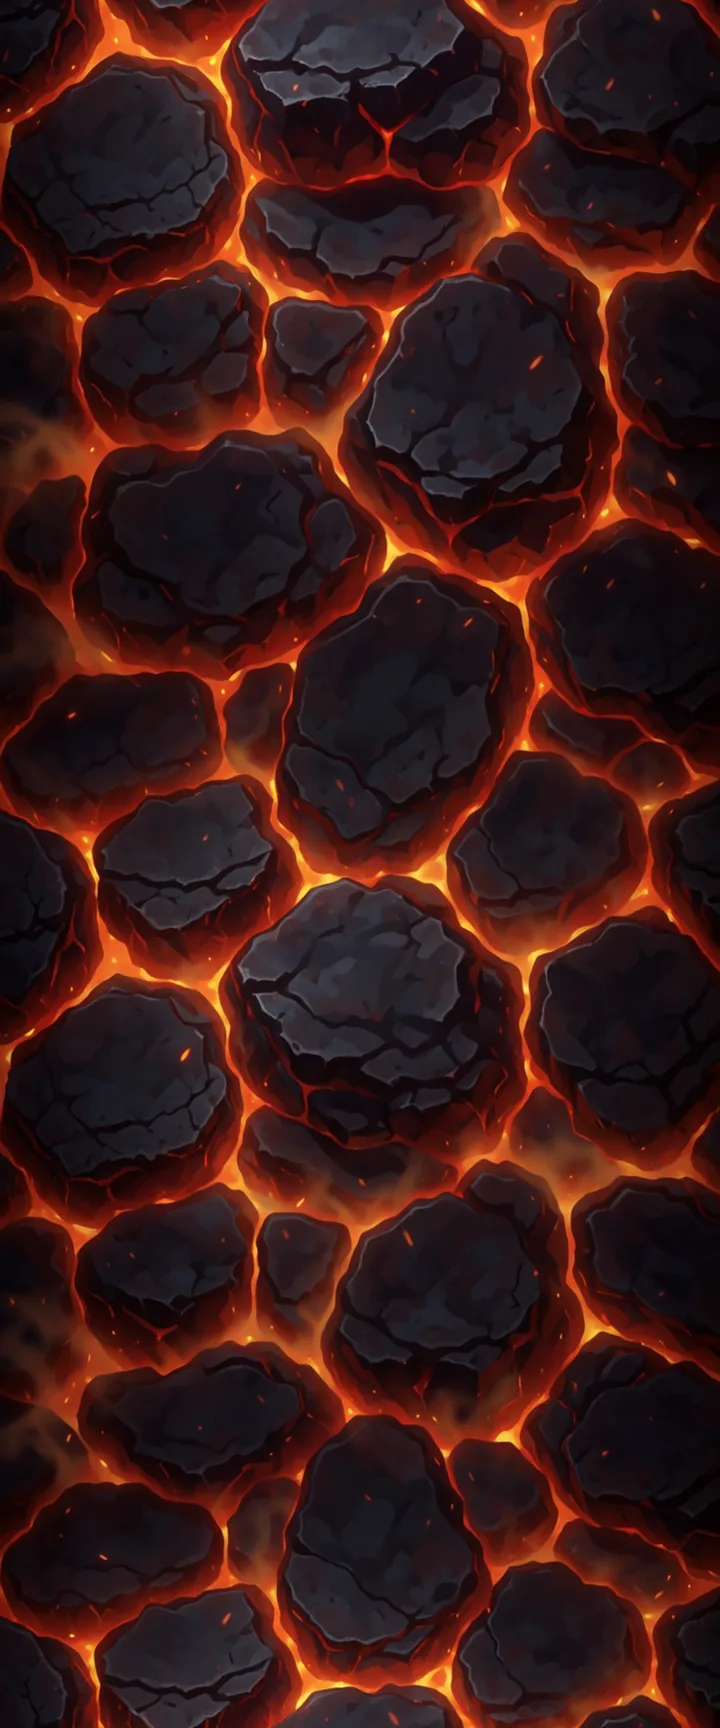
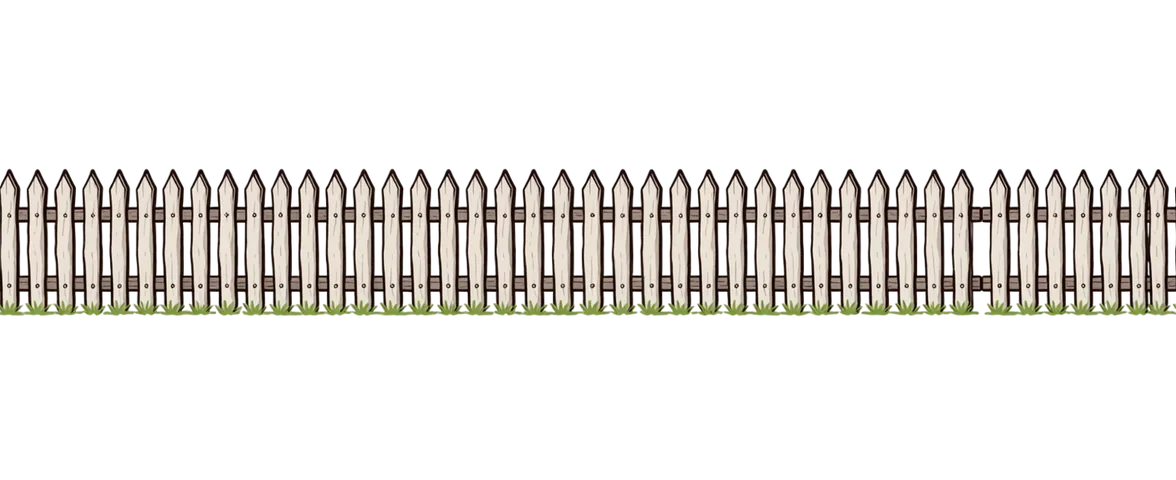
Over 30 Pre-Defined Art Styles
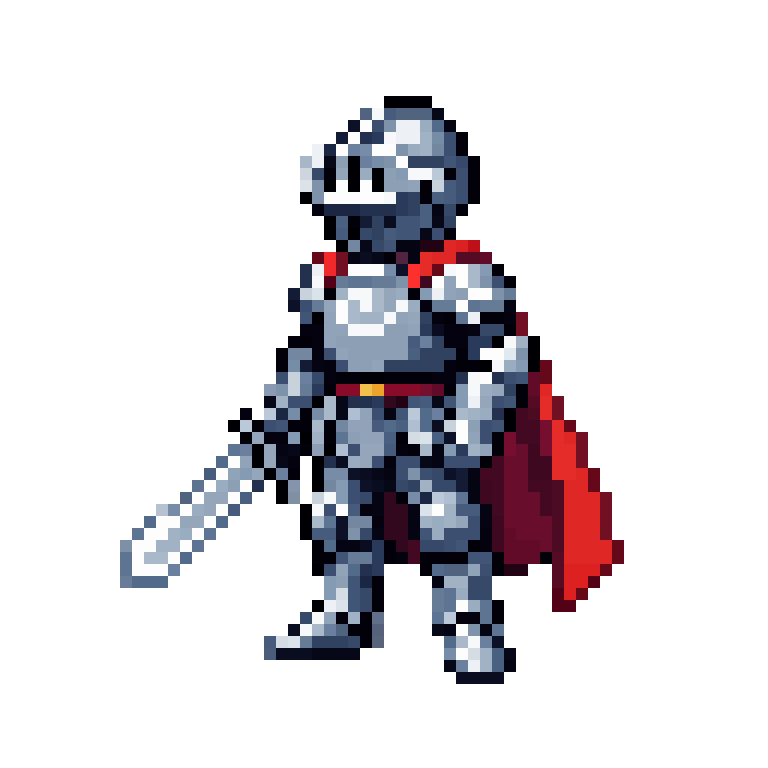
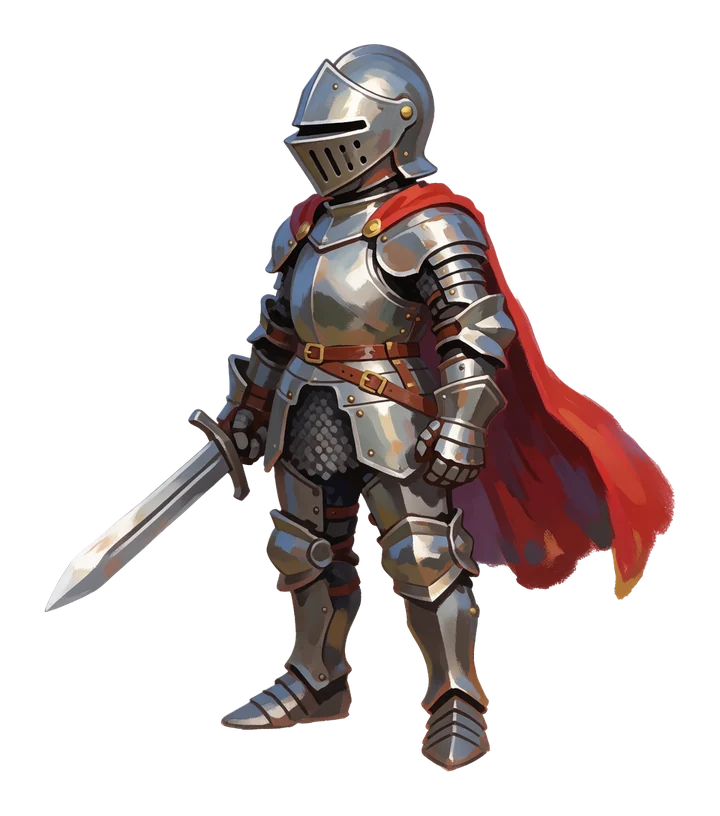
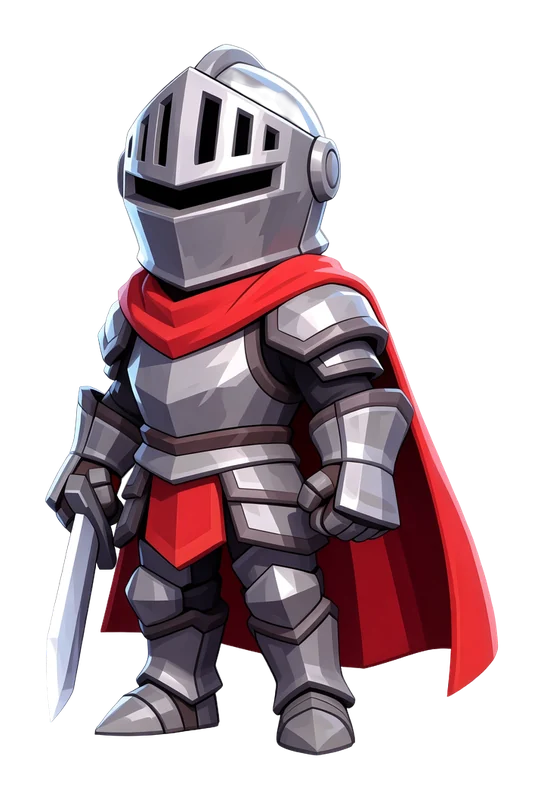
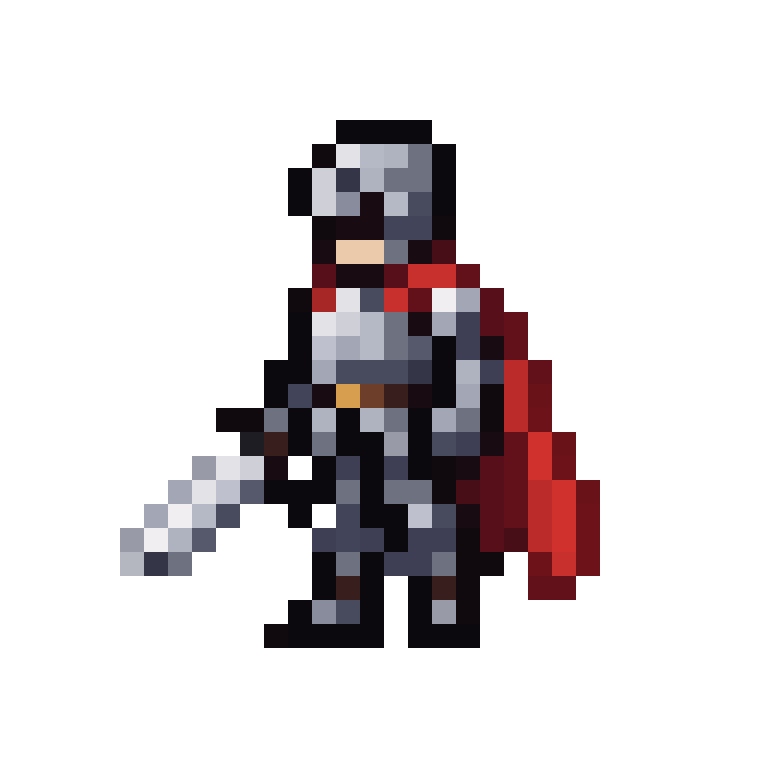
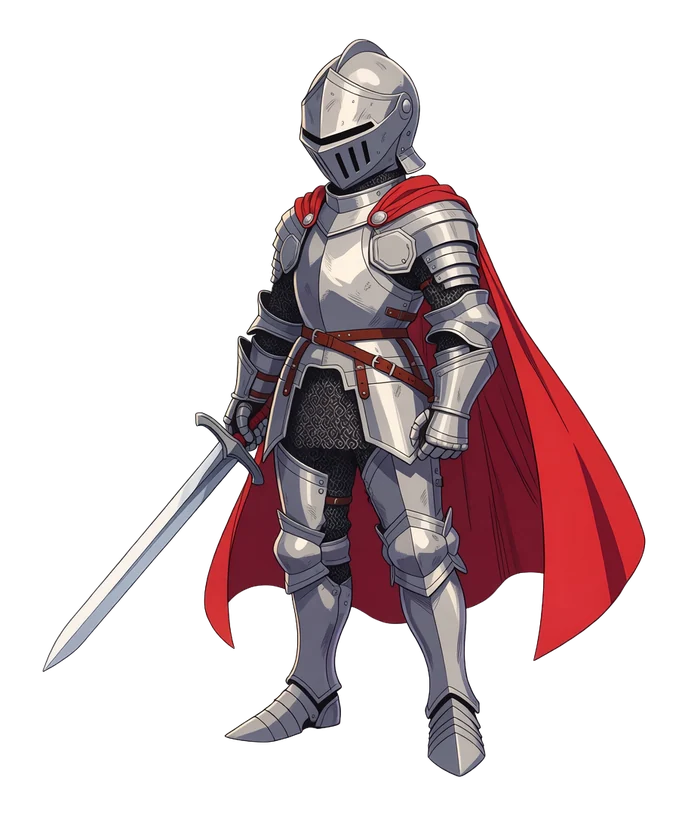
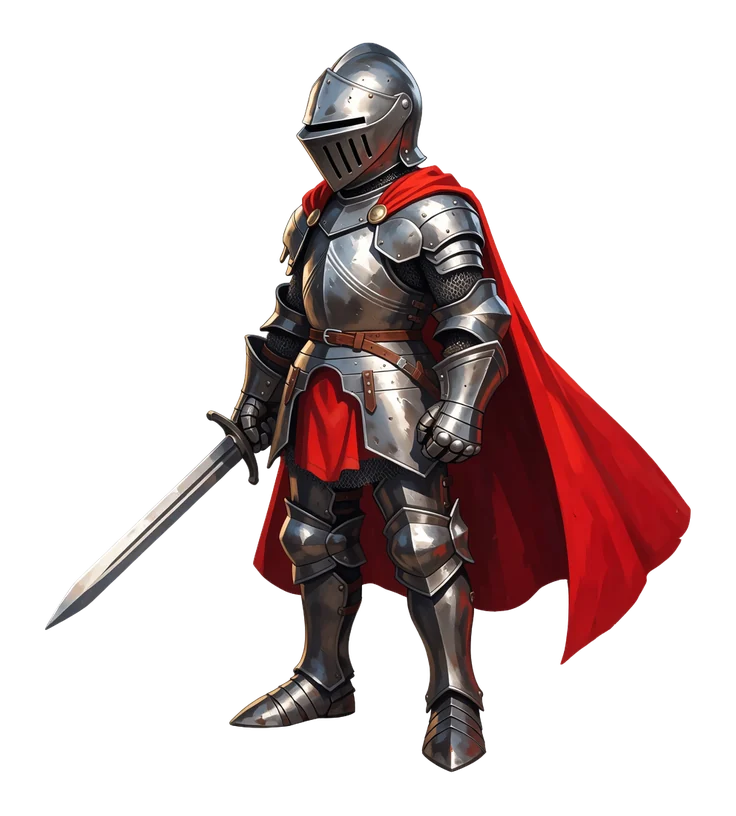
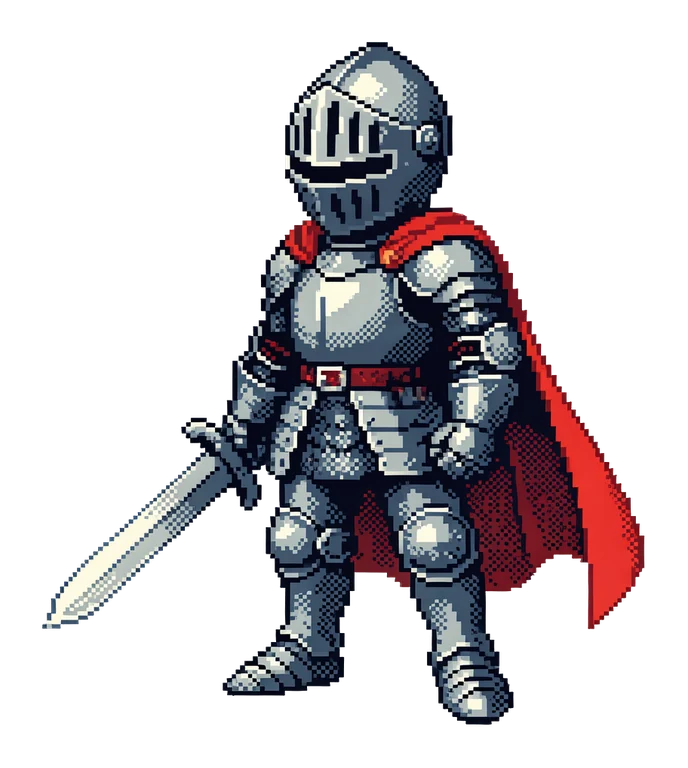
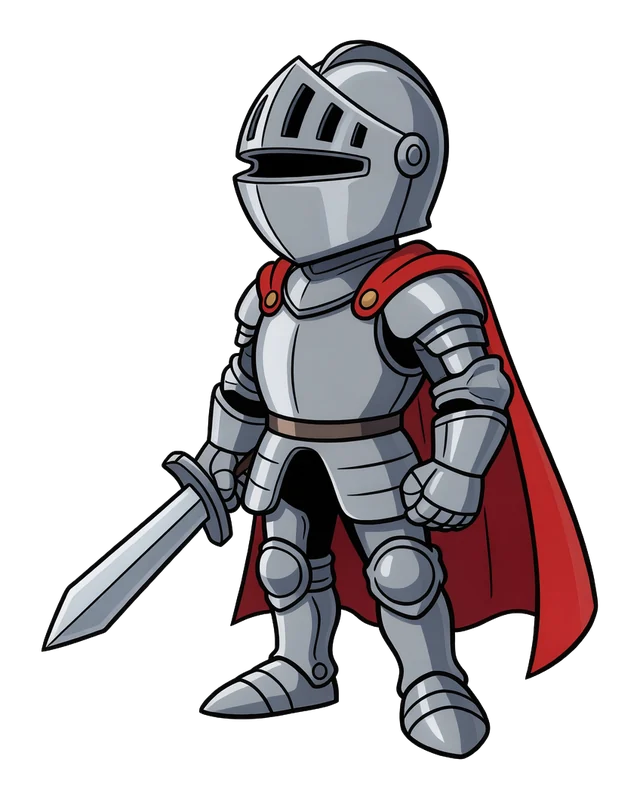
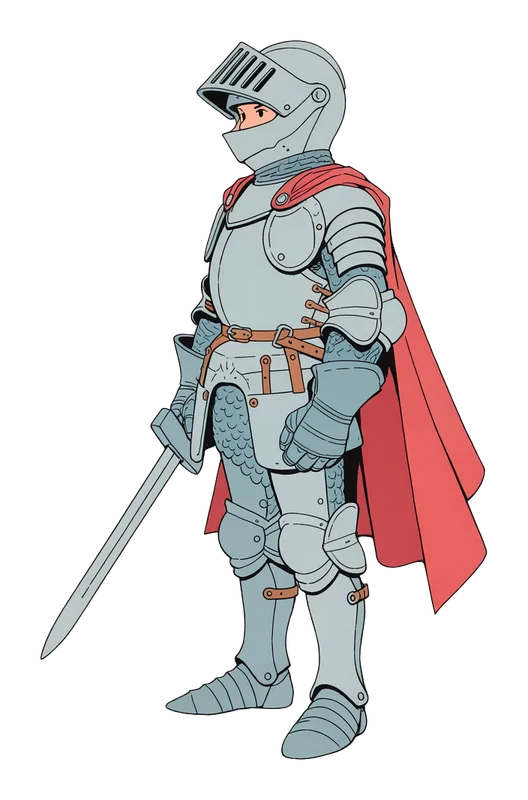
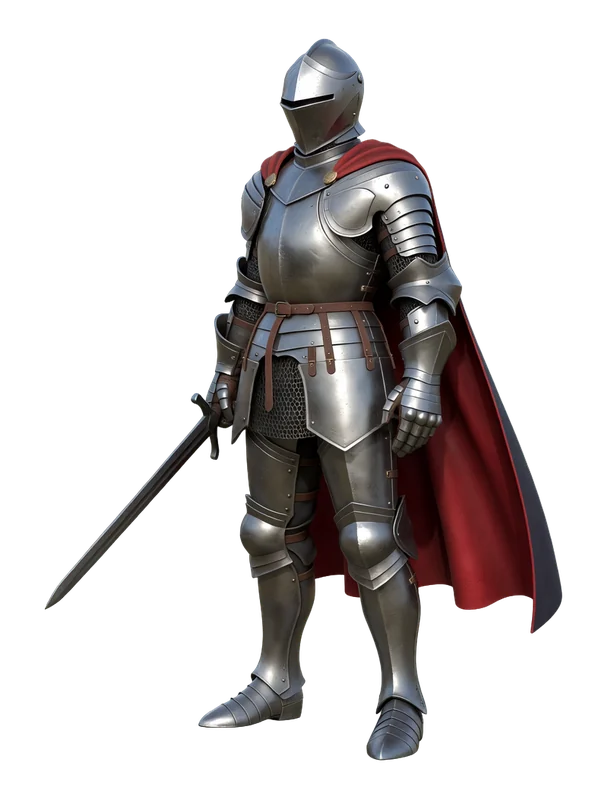
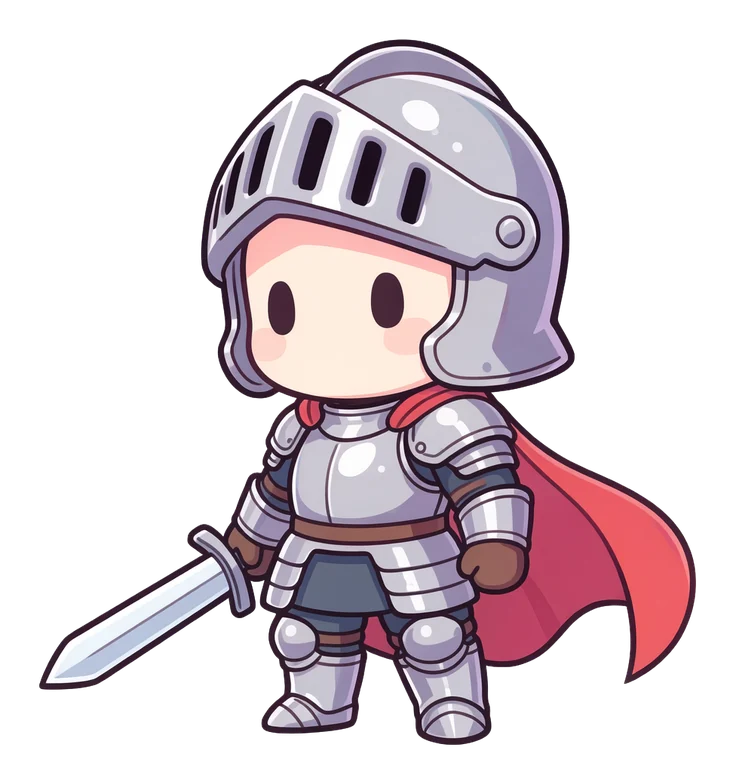
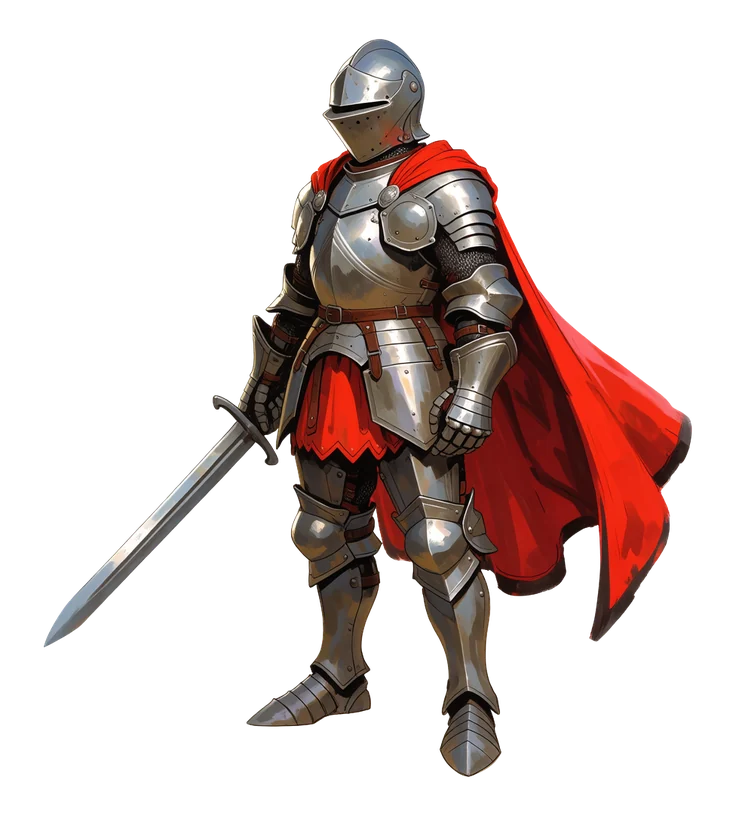
Change it without starting over
A picture is a starting point. Reword it, repaint one part or turn it into pixel art, and keep everything else.
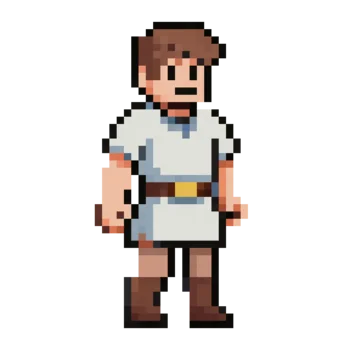
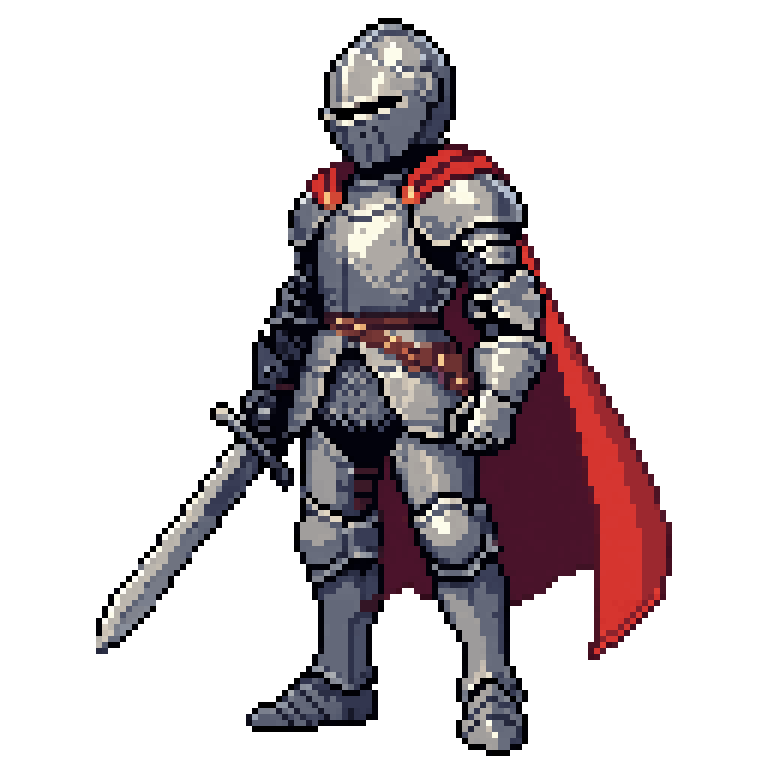
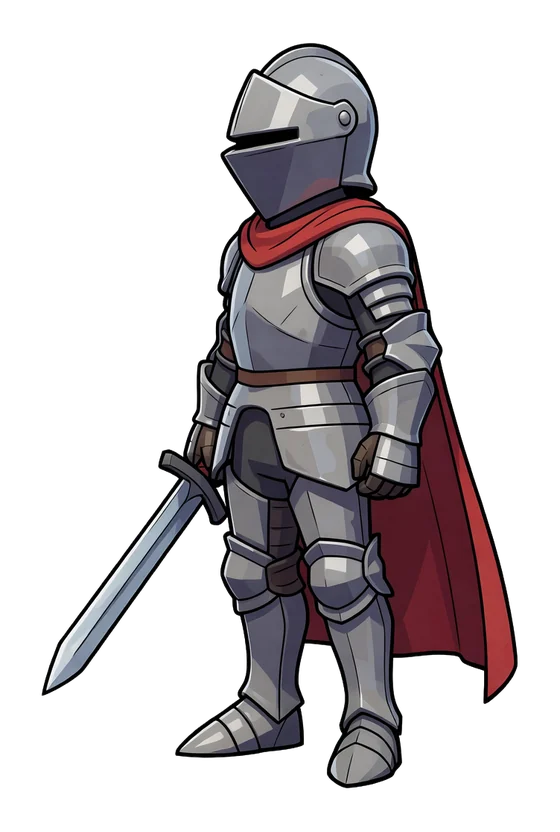
The original Edit instructionGive him heavy steel plate armor.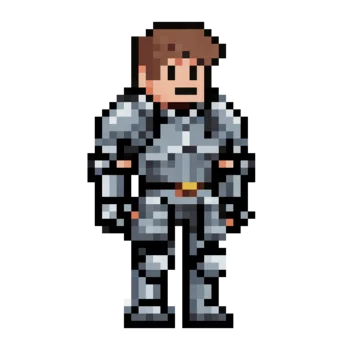
Same hero, plate armor Edit Image
Describe a change in a sentence: the style, the colors, the camera view, the season. The picture keeps its layout, and you can edit the result again with a follow-up.
- Style
- Colors
- View
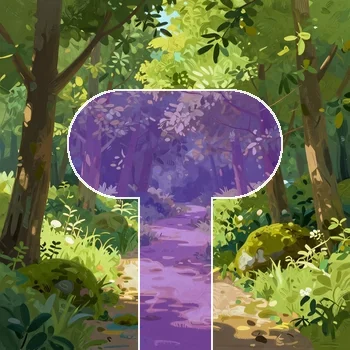
A patch brushed on the path Edit with Maska wooden signpost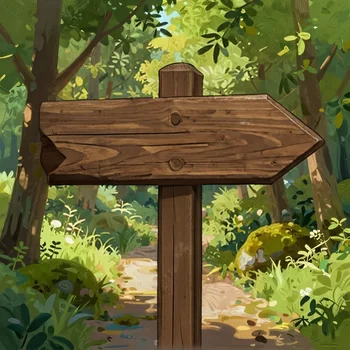
A signpost on the path Mask edits
Brush over one part and describe what goes there with Edit with Mask, or take it away with Erase with Mask and the scene behind it is filled in. The rest of the picture is kept.
- Edit with Mask
- Erase with Mask
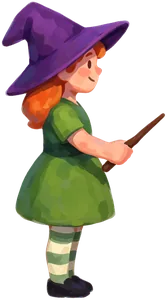
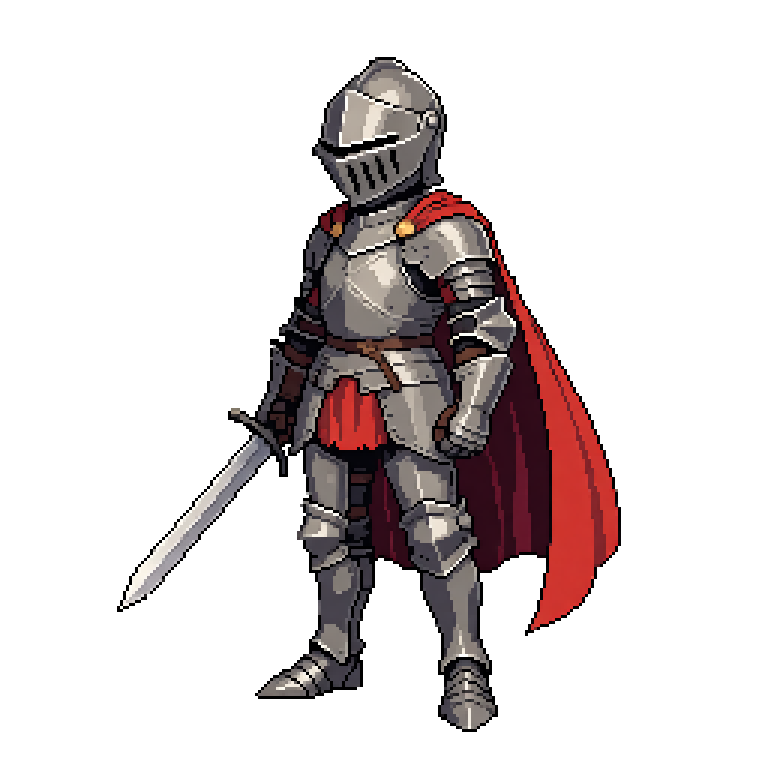
The witch, hand-painted Pixel Size, Colors4 px, 16 colors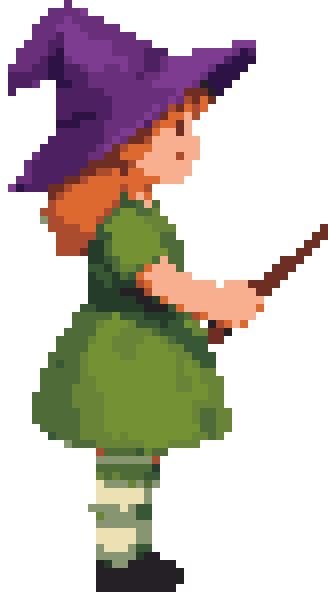
Pixel art on a true grid Convert to Pixel Art
Turns any image, or soft off-grid pixel art, into clean pixel art on a true grid, at the pixel size and number of colors you pick.
- Pixel size
- Number of colors
- Clean pixel grid
"The value of Ludo for this project was iteration. I could explore mode-specific backgrounds, character variants, and UI art, select the strongest direction, and bring the results into the game without losing the overall art style."- Jay Weasel, developer of Kawaii Slime Drop · read the story
What you get out of it
PNG files in the shape your game needs, a whole set in one style, and a next step for every picture.
Style reference Generate with Stylea pink potion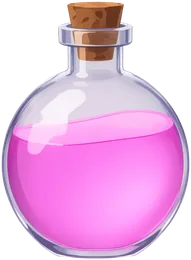
A potion in her style One style across a set
Give one picture as the reference and describe something new. It can adopt the reference's style, its subject, or both, so enemies, items and buttons look like one game.
- Reference-image guidance
- Style
- Subject
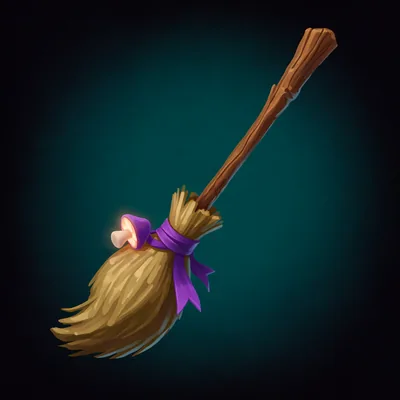
A broom on its backdrop 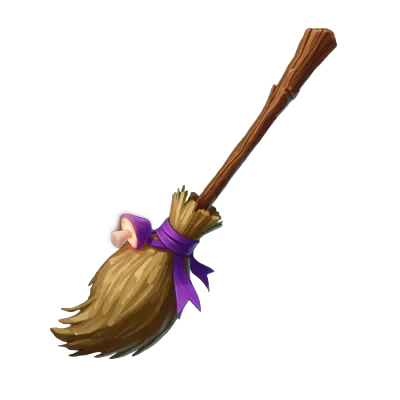
Cut out, transparent PNG PNG, cut out and upscaled
Finished images download as PNG, with a transparent background where the asset needs one. Remove Background lifts the subject out of any picture, and Upscale Image makes it up to 4 times bigger, to at most 2048 px. Pick 1:1, 4:3, 16:9, 19:9, 3:4, 9:16 or 9:19, or leave it on Auto.
- PNG
- Transparent background
- Background removal
- Upscale up to 4x
- Multiple aspect ratios
Your sprite Motion promptwalks forward
Walking, 36 frames Animation from a picture
Twelve of the 21 asset types can be animated into sprite sheets on the Sprite Generator, from sprites and VFX to textures, UI and card art. Generate Spritesheet is on every such picture's card.
- 12 of 21 types
- Generate Spritesheet
Normal maps for every image
Pick Generate Normal Map on any image and Ludo saves its map with it: the direction each pixel faces, ready for 2D lighting. Seamless textures get maps that tile, and pixel art gets one normal per art pixel.
Move your pointer over it: the light follows.
A prop with a transparent background and the map of its every plank, band and rivet. More about normal maps
Ludo lives where you build
Every generator in your terminal, your AI agent, your own code and the Unity editor. One account, one set of credits.
Explore developer toolsnpm install -g @ludoai/cliMCP serverAny MCP client, including assistants that can't run commands.https://mcp.ludo.ai/mcpREST APIYour own app, game server or pipeline.https://api.ludo.ai/api/Unity pluginGenerate and import assets inside the Unity editor.FAQ
Game art across 21 asset types, from a text prompt or a reference image: scene and concept art, gameplay mockups, asset art, fixed, side-scrolling and vertical-scrolling backgrounds, parallax layers, game icons and item icons, UI elements, character portraits, card art, splash screens, textures, map tiles, logos, sprites, VFX sprites, horizontal and vertical tiling sprites that repeat without a seam, and scatter patterns that repeat both ways. Each can be generated in any of 32 art styles, and finished images export as PNG.
Yes. The integrated editor goes well beyond generation. Use Edit Image for broad changes to style, colors, or camera view, Edit with Mask to replace or edit a specific area, Erase with Mask to remove an object cleanly, and Remove Background to isolate a subject. Upscale Image raises the resolution up to 4x (to at most 2048 px), and Convert to Pixel Art turns any image into clean pixel art with the pixel size and number of colors you choose, all without leaving Ludo.
You can generate in 32 predefined art styles, including five pixel-art styles (Micro Pixel, 8-Bit, 16-Bit, 32-Bit and Free Pixel), plus anime, hand-painted, watercolor, low poly, voxel, comic book, claymation, and photorealistic looks, so you can match your game's aesthetic from the start. If an image came out as soft, off-grid pixel art, or you want any picture as pixel art, Convert to Pixel Art snaps it onto a clean pixel grid with the pixel size and number of colors you pick.
Yes. Upload a reference image and create new visuals that adopt its style, its subject, or both, or re-imagine it into something new. This keeps generated assets visually consistent with art you already have.
Yes. The Remove Background action isolates your subject on a transparent background, and finished images export as PNGs, ideal for sprites, icons, and assets you need to layer over other artwork.
You can choose from several aspect ratios, including 1:1, 4:3, 16:9, 19:9, and portrait formats like 3:4, 9:16, and 9:19, or leave it on Auto and let Ludo pick one based on the image type.
Yes. Image generation, editing, background removal, style-matched generation, upscaling and pixel-art conversion are all available through the Ludo API, the MCP server and the CLI, so you can wire them into your own tools and pipelines.
Yes. Twelve of the 21 asset types can be animated into sprite sheets: sprites, VFX sprites, horizontal and vertical tiling sprites, seamless textures, map tiles, parallax layers, UI assets, item icons, portraits, card art and logos. Drive the motion with a text motion prompt, drawn keyframes, a reference video, or one of 641 motion presets (animations run up to 5 seconds), then export the sheet, an animated GIF, or the individual frames. The full workflow lives on the Sprite Generator page.
Open the image in the 3D Asset Generator and use Image-to-3D. Choose the Prop model for everyday props and environment pieces or the Hero model for highly detailed close-up assets. A character image works too, and the result can be rigged and animated and downloaded as a GLB.
Image Generator documentation
The Image Generator is a powerful, multifaceted tool designed to create a wide array of visual assets for your game. It supports everything from initial concept art and gameplay mockups to specific assets and icons through distinct generation modes.
To start using the Image Generator:
- Navigate to the Image Generator from the main menu on the left sidebar.
- Select a Generation Mode: On the left, choose your primary workflow from the dropdown: Generate New, Edit Image, Generate from References, Generate with Style, Edit with Mask, Erase with Mask, Remove Background, or Upscale Image. This choice determines which inputs (prompt, base image, additional reference, mask) the form will ask for.
- Provide Your Input: Depending on the mode, you will enter a text prompt, upload a base image (Image 1), and optionally upload a second reference image (Image 2). When a mode requires a mask, use the Draw Mask button to paint over the area you want to affect. Be as descriptive as possible in your prompts for the best results.
- Pick an Image Type and Apply Filters (Optional): When the mode supports it, choose an Image Type from the tile picker at the top of the prompt area (Scene Art, Gameplay, Asset Art, Sprite, Game Logo, Parallax Layer, and more). Below the prompt, you can expand Filters to refine Art Style, Perspective, and Aspect Ratio.
- Click "Generate": Ludo.ai will queue your request and generate two image results by default.
- Refine, Save, or Use Elsewhere: Each result carries a row of actions — Edit Image opens it in the Image Editor, Use As Reference feeds it back into the form as a reference, Upscale (on images below 2048px) makes a higher-resolution copy (see Upscaling an Image), and Generate Video, Generate Spritesheet (on sprites) or Generate 3D Asset (on the types that support it) hand the image to Ludo's other tools. Open the More options menu (the menu icon at the top of the card) to download it, tag it, or pick Get Help With This — which opens the docs assistant with that specific generation attached, so you can ask why it came out the way it did. Click the image itself to open it fullscreen, where it is labelled with its image type and, for tiling types, can be previewed repeating.
- Find it again later: You can tag your results and search them later — see Organizing and finding your generations.
For how the Image Generator fits with Ludo's other tools and how to keep one style across all your assets, see Generating Game Assets.
The Image Generator's workflow is divided into eight modes, accessible from the Generation Mode dropdown on the left. The Image Editor carries the editing modes among them for refining an existing image (see The Image Editor: Iterative Refinement).
Mode 1: Generate New
The most straightforward mode for creating a completely new image from a text prompt and optional filters.
- Select "Generate New".
- Choose the Image Type (Scene Art, Gameplay, Asset Art, Game Icon, Sprite, etc.).
- In the prompt box, describe what you want to create.
For example:
4x strategy with zombies. - Use the filters to guide the generation.
For the example above, you might select
Perspective: Top-DownandArt Style: Cel-Shaded. - Click Generate.
Mode 2: Edit Image
Modify an existing image using textual instructions. You describe the desired changes in the prompt.
- Select "Edit Image".
- Upload your Image 1 — the image that will be edited.
- (Optional) Image 2: Upload an additional reference image. The AI will use this second image as context for the edits described in your prompt.
- Provide a text instruction describing the change.
For example:
turn the astronaut into a zombieorchange the background to a night sky. - Click Generate.
Mode 3: Generate from References
Create a new image using elements from up to two reference images.
- Select "Generate from References".
- Upload Image 1.
- (Optional) Image 2: Upload a second reference image. The AI will utilize elements from both references when generating the new image.
- Provide a text prompt to guide how the references should be used or combined.
- Click Generate.
Mode 4: Generate with Style
Adopt the artistic style of your references for a brand-new image.
- Select "Generate with Style".
- Upload Image 1.
- (Optional) Image 2: Upload a second reference image.
- Provide a prompt describing the subject you want to create in the style of the provided references.
- Click Generate.
Mode 5: Edit with Mask
Precise control by editing a specific, masked area of an image.
- Select "Edit with Mask".
- Upload your Image 1 — the image to be edited.
- Click Draw Mask and paint over the area you wish to change.
- (Optional) Image 2: Upload a second reference image. This can be used to insert a specific object or texture into the masked area, depending on your prompt.
- Provide a prompt describing the new content for the masked area and click Generate.
Mode 6: Erase with Mask
Removes the masked object completely and intelligently fills in the space.
- Select "Erase with Mask".
- Upload your Image 1.
- Mask the object you want to remove.
- Click Generate. No text prompt is needed for this mode.
From the API and MCP:
editImageruns Edit with Mask or Erase with Mask when you pass amask: a PNG exactly the same width and height as the image (any other size is refused), white where the image should change and black where it should stay.mask_mode: "replace"(the default) is Edit with Mask and redraws the white area from your prompt;"erase"is Erase with Mask and needs no prompt. Without a mask,editImageis Edit Image, which re-renders the whole image, so use a mask when only one part of the image should change. A masked edit costs 1 credit per image.Mode 7: Remove Background
Automatically removes the background from your image. No prompt or mask is needed, and this mode does not consume generation credits.
- Select "Remove Background".
- Upload your Image 1.
- Click Generate.
Mode 8: Upscale Image
Makes a higher-resolution copy of your image, up to 4x larger and at most 2048px on its longest side. No prompt or mask is needed. See Upscaling an Image for the card action, the size limit and credits.
- Select "Upscale Image".
- Upload your Image 1. It must be below 2048px on its longest side.
- Click Generate.
The Image Generator supports twenty-one distinct image types, selectable from the tile picker shown above the prompt. Each type is tuned to produce a specific kind of asset, from broad concept art to sprites, logos, tiling strips, and scrolling layers ready to drop into your game engine.
Picking the right type does a lot of work for you: it steers the composition and framing, sets a sensible default aspect ratio, and — for the types that need it — makes the result seamless or delivers it on a transparent background.
Concept and scene art
- Any type — Non-specified image type, useful when you don't want the model to bias toward any particular category.
- Scene Art — Concept art of scenes or themes. Ideal for visualizing characters, environments, mood boards, and overall art direction.
- Gameplay — In-game screenshot showing gameplay. Use it to visualize how your game will look in action, mock up levels, or test camera angles and perspectives.
- Asset Art — Concept art of a single asset (character, item, prop). The subject is shown in full view against a background that contrasts clearly with it, so it reads as a focused asset study rather than a scene.
- Card Art — An artistic illustration of a single dramatic subject with a complementary background, for a collectible or trading card game.
- Splash Screen — Cinematic image for game loading or launch screens, carrying the game's key art and atmosphere.
Game-ready assets
These types are delivered on a transparent background, ready to composite directly into your game.
- Sprite — Character or object sprite ready to use in a game engine. Unlike Asset Art, Sprites are generated with flat lighting and shadows removed so they can be animated or composited cleanly.
- VFX Sprite — Isolated visual-effect sprite (muzzle flash, magic impact, explosion) captured at the peak of the effect. Suitable for particle systems or procedural animations.
- UI Element — Buttons, status bars, frames, and other isolated UI elements.
- Item Icon — Small, clear icon representing an in-game item, for inventory, shop, or loot systems.
- Character Portrait — Close-up character portrait for dialogue boxes, menus, or roster screens.
- Map Tile — Independent grid cell for use in tile-based maps. The tile adapts to the selected perspective — top-down by default, or isometric and high-angle variants with a visible side edge.
Tiling sprites
Cut-out assets that repeat along one axis, so you can build a run of them without a visible join.
- Horizontal Tiling Sprite — A horizontally repeating sprite on a transparent background: platforms, bridges, fences, walls, energy beams. Loops seamlessly left to right, and defaults to an ultra-wide canvas so one generation covers a long run.
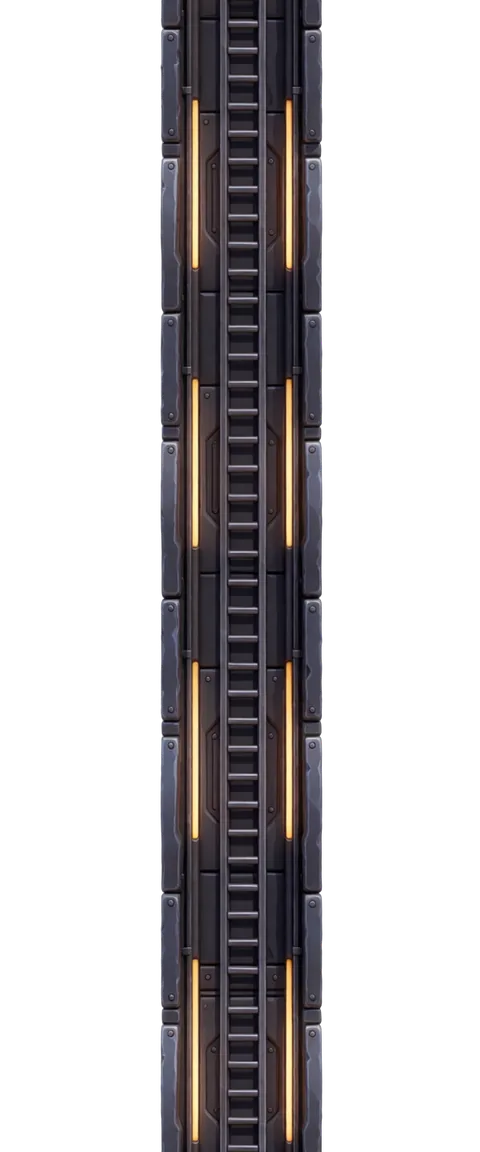
- Vertical Tiling Sprite — A vertically repeating sprite on a transparent background: ropes, chains, vines, ladders, beams. Loops seamlessly top to bottom, on a tall canvas.
Branding and store assets
- Game Icon — App-store icon for a game, always produced at 1:1 regardless of the aspect ratio you select. Use it for store listings and marketing materials.
- Game Logo — A game title logo with stylized lettering, delivered on a transparent background. Put the exact wording you want in your prompt — the title is used verbatim, and it is never invented for you. Leave the wording out and you get a text-free emblem or mark instead.
Backgrounds and scrolling layers
- Static Background — Static full-screen background for game levels or menus. Focuses on atmosphere, setting, and mood, with no playable characters or UI.
- Horizontal Background — Horizontally repeating background for side-scrolling games. Loops seamlessly left to right, and defaults to an ultra-wide canvas so you get a long strip of scenery per generation.
- Vertical Background — Vertically repeating background for vertical scrollers and endless climbers/divers. Loops seamlessly top to bottom, with no ground, horizon, or ceiling to break the illusion, and uniform brightness from top to bottom so the seam never shows.
- Parallax Layer — A single horizontally repeating scene layer on a transparent background, for building parallax scenes one layer at a time. Describe one layer per generation and the layer is anchored appropriately: ground and terrain layers sit flush against the bottom edge, ceiling layers against the top, and floating layers (cloud banks, distant birds, drifting islands) sit in the middle touching neither.
Tiling surfaces
- Texture — Seamless tileable surface for meshes or terrain. Repeats perfectly in both directions across a 3D surface without visible seams.
Checking a tiling result
For any type that repeats — the tiling sprites, Horizontal and Vertical Background, Parallax Layer, and Texture — open the image fullscreen and use the two extra preview modes next to the single-copy view: one scrolls the image endlessly through itself, the other lays copies side by side. Both run along the axis the type repeats on, so you can see the seam (or the absence of one) before you commit the asset.
Which types can be animated
Most of these types can be turned into an animation in the Sprite Generator: Sprite, VFX Sprite, UI Element, Item Icon, Character Portrait, Game Logo, Map Tile, both Tiling Sprites, Parallax Layer, Texture, and Card Art. On a Sprite result, the card's Generate Spritesheet action takes you straight there; for the other types, open the Sprite Generator's Animate mode and pick the image from your history. Scene art, gameplay shots, backgrounds, splash screens and game icons are not animatable as sprites.
When the active generation mode supports it, you can refine your request with the Filters panel below the prompt:
- Art Style: Choose the art style you want in the generated image, from a picker of preview tiles covering everything from pixel-art tiers to painterly, 3D, graphic, and craft looks. Pick Any style to leave it to the model. (Not available in the Generate with Style mode, since the style is taken from your reference image.)
- Perspective: Choose the player perspective or camera view — Side-Scroll, Isometric, High Angle, Top-Down, 2.5D, First-Person, Third-Person, Over-the-Shoulder, Free Camera, or Any perspective. Each option carries a short description in the picker.
- Aspect Ratio: Choose the aspect ratio of the generated images:
- Auto: Chosen automatically based on the image type — this is the recommended setting.
- Square: 1:1.
- Landscape: 4:3, 16:9, or 19:9.
- Portrait: 3:4, 9:16, or 9:19.
Perspective doesn't apply to every image type
The picker always offers the full list, but the image type decides how much of it is actually used:
- Fully honoured on Gameplay, Scene Art, Any type, Game Icon and Splash Screen — these are the types where a camera angle is meaningful.
- Limited to the 2D-facing options — Side-Scroll, 2.5D, Top-Down, High Angle and Isometric — on Sprite, VFX Sprite, both Tiling Sprites, Asset Art, Static Background, Texture, Map Tile and Card Art. Pick a first-person or free-camera view on one of these and it is ignored rather than applied.
- Ignored entirely on Game Logo, UI Element, Item Icon, Character Portrait, Horizontal Background, Vertical Background and Parallax Layer. There is no camera to place for a logo or a button, so the setting has no effect on the result.
Aspect ratio: why Auto is usually the right choice
Each image type carries a default shape that suits it, and Auto applies it for you:
- Square (1:1) — Sprites, VFX Sprites, UI Elements, Item Icons, Character Portraits, Map Tiles, Textures, Card Art, Scene Art, Asset Art, and Any type.
- 16:9 landscape — Game Logos and Splash Screens.
- Your project's platform — Gameplay and Static Background follow the target platform of your project: 16:9 for desktop, 9:16 for mobile.
- Ultra-wide and ultra-tall strips — Horizontal Background, Parallax Layer and Horizontal Tiling Sprite default to a 21:9 strip; Vertical Background and Vertical Tiling Sprite to its 9:21 mirror. These extra-long canvases are only reachable through Auto — they are not in the manual list — and they matter, because a scrolling layer or a tiling run is far more useful when a single generation covers a long stretch.
- Game Icons are always generated at 1:1, regardless of the aspect ratio you select.
In the modes that take an input image (editing, references, style), Auto follows the shape of the image you provided rather than the type's default, so an edit comes back matching its source.
Override the aspect ratio when you have a specific target in mind; otherwise leave it on Auto and let the image type decide.
In addition to the filters, the Image Type tile picker above the prompt lets you pick the kind of asset you're generating (Scene Art, Gameplay, Sprite, Game Logo, Parallax Layer, etc.) — see the Image Types section for the full list.
Any image on the Ludo.ai platform can be refined using the powerful Image Editor, which opens in a modal window and carries the main form's editing modes.
Accessing the Editor: Click the Edit image (pencil) icon on any image thumbnail.
Workflow:
- The selected image appears in the center as your Base Image.
- On the right sidebar, choose your Edit Mode. The editor offers the same modes as the main generator except Generate New — there is always a base image here, so starting from scratch has no meaning: Edit Image, Generate from References, Generate with Style, Edit with Mask, Erase with Mask, and Remove Background. Upscale Image is not in the editor either: it runs as a background job rather than in place, so use it from the main form or from the Upscale action on an image card.
- Reference 2: Just like in the main generator, you can upload an Additional Reference (optional) in the sidebar to provide extra context or style information for your edit.
- After you generate a change, the new version appears in the History panel on the right and replaces the image in the center. This image becomes the current/selected image.
- You can build upon your changes step-by-step.
- If the generation mode requires a mask, the mask should be drawn directly in the selected image in the center.
- When finished, select your final desired image from the History and click the Save & Close (checkmark) icon.
This iterative process allows for complex, multi-step image editing, all driven by natural language, dual references, and simple masking. Bear in mind that each pass re-renders the whole image, so colors and fine detail drift a little further from the original with every step — if an edit didn't work, go back to the version before it in the History rather than editing on top of it.
Upscale Image makes a higher-resolution copy of an image: the same picture at up to 4x the size, with the result capped at 2048px on its longest side. There is no scale factor to set and no prompt to write. The source image must be below 2048px on its longest side.
From an image card
- Find the image in your Image Generator history, or on another image card with the same row of actions (Edit Image, Use As Reference and so on).
- Click Upscale in the image's row of actions. When the row is too narrow for every action, the ones that don't fit are under the More actions button (three vertical dots) at the end of the row.
- The upscale runs in the background. When it is done, the result appears in your Image Generator history as a new image, and the original stays as it is.
Upscale is offered only on images below 2048px on their longest side, and only when Ludo knows the image's width and height. For an image without the action, use the Upscale Image mode with the image as Image 1.
From the Generation Mode dropdown
Select Upscale Image in the Generation Mode dropdown, upload your Image 1, and click Generate (see Mode 8: Upscale Image). If the image is 2048px or larger on its longest side, the form shows "Upscale takes an image below 2048px on its longest side" under the image and Generate stays disabled.
Credits
An upscale is billed as one generated image (see the credits table under Subscriptions and Credits System): 0.5 credits on the Indie plan and the free trial (and on any plan while it is paused). On an active Pro or Studio plan it is unlimited in the web app, like the rest of image generation. Through the API, the MCP server or the Ludo CLI, an upscale always costs 0.5 credits.
Upscale Image, Upscale 1.5x and Upscale 2x
Ludo has three upscale options, one for each kind of asset:
- Upscale Image (this section) upscales a still image, up to 4x.
- Upscale 1.5x is a Sprite Size option for sprite sheets in the Sprite Generator.
- Upscale 2x upscales a video in the Video Generator.
From the API and MCP
The same operation is
upscaleImage:POST https://api.ludo.ai/api/assets/image/upscaleon the REST API, and theupscaleImagetool on the MCP server. Pass the source inimageas a URL or base64. An image that is 2048px or larger on its longest side, or larger than 15MB, is rejected with HTTP 400. The job result is a single image with aurl. See API & MCP.The Image Generator is designed to understand natural, descriptive language. There is no need for special keywords or complex syntax, and there is no hard limit on the length of your prompt. A longer, more detailed prompt gives you more fine-grained control over the final image.
Writing Prompts for New Images
When creating a new image, your goal is to describe the scene as if you were explaining it to an artist. While you can be creative, a good structure often includes:
- Subject: The main focus of the image (e.g.,
a mystical knight,a futuristic spaceship). - Action: What the subject is doing (e.g.,
dueling a shadowy wraith,flying through a nebula). - Setting & Context: The environment and other details (e.g.,
amid crumbling ruins,with stars and planets in the background). - Style & Details: The art style, colors, and specific visual elements (e.g.,
health bars diminish,with glowing blue cybernetic implants).
Simple vs. Detailed Prompts:
- Simple:
green viking - Detailed:
A strong female cyborg with glowing blue cybernetic implants is leaping away from a massive explosion on a busy road of a futuristic city.
Writing Prompts for Modifying Images
When using the Full Edit or Inpaint with Mask modes, your prompts should be instructional. Tell the AI what change you want to make.
- Adding New Elements: Be direct.
add a full moon to the skyplace a small, glowing lantern on the table
- Changing Existing Elements: Clearly state the element and the desired change.
change the car's color to bright redturn the astronaut into a zombie
- Modifying the Overall Image: You can alter the entire scene's mood or style.
make the image more dramatic and add a meteorchange the style to a Vincent van Gogh paintingadjust the color scheme to be warmer with orange and yellow tones
You can also combine multiple instructions in a single prompt for efficiency, such as:
add clouds to the sky and make the character's eyes glow red.- Subject: The main focus of the image (e.g.,
The Image Generator is a powerful tool, but it has limitations. Here are common issues and troubleshooting tips:
- Generated images are not relevant to prompts:
- Be more specific: Add details about characters, setting, colors, and elements.
- Use filters: Art Style, Perspective, and Aspect Ratio filters guide generation.
- Pick the right Image Type: Choosing the type that matches your intent (e.g. Sprite vs Asset Art vs Scene Art) has a big impact on the result.
- Rephrase prompts: Use different keywords to evoke the same concept.
- Generate variations: Refine relevant results in the Image Editor to get closer to your target.
- AI unable to make requested edits:
- Simplify instructions: Complex or contradictory edits may confuse the AI. Break them down into smaller steps using the Image Editor.
- Rephrase editing prompts: Use clearer and more direct language when describing the change.
- Switch modes: Try a different edit mode — for example, Edit with Mask for localized changes or Generate from References when you want to keep parts of the source image.
- Start with a different base image: If edits are too complex, a cleaner starting image may yield better results.
- Generated images are not in desired resolution/size:
- Adjust Aspect Ratio: Use the Aspect Ratio filter to control image dimensions.
- Pick the matching Image Type: Some types (Game Icon, Background, Texture) imply specific framing or proportions.
- Upscale the image: Upscale Image makes a copy at up to 4x the resolution, at most 2048px on its longest side. See Upscaling an Image.
- Upscale is missing from an image's actions, or Generate stays disabled in Upscale Image mode:
- Check the image's size: Upscaling takes an image below 2048px on its longest side. A larger image gets no Upscale action, and in Upscale Image mode the form shows "Upscale takes an image below 2048px on its longest side".
- Use the Generation Mode dropdown: An image whose size Ludo doesn't know also gets no Upscale action. Select Upscale Image in the Generation Mode dropdown and add the image as Image 1 instead.
- Look under More actions: On a narrow card, Upscale can be among the actions that don't fit in the row; they are under the More actions button (three vertical dots) at the end of the row.
- Generation process seems slow:
- Usage peaks: Generation times may increase during peak hours. Performance should improve after a few minutes.
- Irrelevant or nonsensical results:
- Rephrase your prompt: Ensure your prompt is clear, concise, and directly related to the image you want to generate.
- Check for typos: Small errors can lead to unexpected outputs.
- Start a new generation: Sometimes starting over with a fresh prompt resolves unexpected results.
- Object Removal with Masks not working perfectly:
- Refine the mask: Ensure the mask fully covers the object and extends slightly into the background.
- Regenerate: Try generating again after refining the mask.
- Use Edit with Mask for fine-tuning: After erasing, switch to Edit with Mask with a specific prompt to clean up the area if needed.
- Credit depletion:
- Check credit balance: Monitor your credit usage in the credits counter in the top bar.
- Upgrade subscription: If you frequently run out of credits, consider upgrading your subscription plan.
- Note: Remove Background does not consume generation credits. Upscale Image costs the same as generating one image.
If you encounter persistent issues, contact Ludo.ai support or join our Discord server: https://discord.gg/FmTPyugsrR
- Generated images are not relevant to prompts:
The Art Style filter offers a wide range of distinct visual styles, each with a preview tile so you can see what you're picking. Choose Any style to let the model decide, or pick a specific style to steer the look of every generation.
You can also describe additional style instructions directly in your text prompt — for example, naming a specific artist, era, medium, or color palette ("in the style of Studio Ghibli", "1980s VHS look", "ink wash with red accents"). Prompt-level instructions stack on top of the selected Art Style filter, so use the filter to set the overall look and the prompt to layer on extra detail.
The Image Generator currently supports the following styles:
Drawn / Illustrated
- Cel-Shaded — Flat color areas with hard-edged two-tone shading and bold, even outlines.
- Inked Painterly — Crisp ink linework over painted color, with a vivid palette and strong rim light.
- Illustration — Flat ink illustration with clean ligne claire outlines and flat color fills.
- Western Cartoon — Flat 2D Western cartoon with bold outlines and bright colors.
- Anime — Vibrant modern anime with crisp lines and detailed shading.
- Chibi — Cute, super-deformed characters: oversized head about half the total height, tiny stubby limbs, large eyes, pastel colors.
Pixel Art
These five styles form a ladder from the coarsest, chunkiest pixels to the finest. The first four snap the result to a strict pixel grid, so the pixel size is consistent across the whole image — pick the tier that matches the resolution you're targeting.
- Micro Pixel — The coarsest tier. Large chunky pixels, hard edges, and around sixteen flat colors, in the spirit of the NES / Game Boy era.
- 8-Bit Pixel — Clearly visible square pixels with a flat, limited palette, in the 16-bit console tradition.
- 16-Bit Pixel — Finer pixels with crisp aliased edges and a broader flat palette.
- 32-Bit Pixel — Modern hi-bit pixel art: tiny, densely packed pixels with intricate detail and hard aliased edges.
- Free Pixel — Fine-grained pixel art in the style of 90s console games with a limited flat palette, but without the strict pixel grid of the tiers above. Use it when you want the pixel-art look with more freedom in the detail.
Painterly and traditional media
- Hand-Painted — Hand-painted look with soft visible brushstrokes and color blotches.
- Digital Painting — Airbrushed digital painting with glossy highlights, cinematic grading, and sharp detail.
- Comic Book — American comic ink and color: bold brush outlines, flat spot colors, halftone shading.
- Block Print — Linocut print: carved gouge lines, heavy black-on-white contrast, one or two flat ink colors.
- Sketch — Monochrome graphite pencil line work with crosshatching and an unfinished, hand-drawn feel.
- Watercolor — Translucent layered washes on cold-press paper, with soft bleeding edges and visible paper grain.
3D
- Stylized 3D — Chunky mobile-game 3D with exaggerated proportions.
- Pixar Style — The 3D animated feature-film look: appealing characters and cinematic lighting.
- Low Poly — Low-poly 3D with large flat facets, faceted shading, and untextured solid colors.
- Photorealistic 3D — Lifelike 3D visuals with high detail and realistic lighting.
- Voxel Art — Blocky, 3D pixel-like visuals built from cubic voxels.
- Retro 3D — Mid-1990s PlayStation-era graphics: angular texture-mapped models, blurry low-res textures, jagged edges.
Graphic / Design
- Flat Design — Simple geometric shapes in solid unshaded colors, with no outlines, gradients, or shadows.
- Minimalist — Simple and functional, with minimal detail and lots of negative space.
- Silhouette — Solid black subject shapes with no interior detail, against a single bright flat background.
Atmospheric
- Noir — Black and white with crushed blacks, a hard key light, long shadows, and heavy haze.
- Neon — Glowing magenta and cyan tube-light outlines against near-black, with strong bloom.
- Glitch Art — 2D digital distortion with corrupted pixels, chromatic aberration, and color channel shifts.
Craft / Material
- Claymation — Plasticine models with fingerprints and tool marks, soft rounded edges, and matte clay surfaces.
- Paper Craft — Cut paper shapes stacked in parallel planes, with visible paper thickness and drop shadows.
- Textile — Knitted wool yarn with chunky visible stitches, soft fiber texture, and felted seams.
Style names in the API, MCP and CLI
art_styletakes the style names exactly as listed above. Six styles had different names in the API before November 2026. The REST API still accepts the old names and gives the same style as before, but results and your generation history show the current name:8-Bitis now Micro Pixel16-Bitis now 8-Bit Pixel32-Bitis now 16-Bit PixelHi-Bitis now 32-Bit PixelRetro 2Dis now Free PixelAnime/Mangais now Anime
Use the current names in new work. The old names are not in the published list of values, and the MCP tools accept only the listed names.
Consistency across generations comes from anchoring every image to the same style signals. The Image Generator gives you three that stack: pick one Art Style filter and keep it fixed for the whole project; repeat the same style phrases in every prompt (medium, palette, era), not just the first one; and use a style reference image so new generations match an existing asset rather than a text description of it. For edits, the Image Editor preserves the look of the base image, and its Additional Reference slot lets you carry your style anchor into every edit.
Expect some drift: two generations from the same prompt are never pixel-identical, and fine details like exact palette or linework weight can vary. The practical workflow is to generate your best anchor asset first, then feed it into every later generation with Use As Reference. For a full walkthrough, see Consistent Game Art Style.
Every image you generate stays in your history below the form, and that history grows quickly. The search bar above the results is there to keep it manageable.
Searching
Click the search bar above the results grid and start typing to filter your image history. As you type, the panel suggests matching tags from your library, so you can complete a term instead of remembering its exact spelling. Press Enter or click a suggestion to run the search.
Searches you submit explicitly are remembered: click into an empty search bar and the panel shows your recent searches, ready to re-run with one click.
If nothing matches, the results area tells you so directly rather than showing an empty grid.
Tagging your images
Each image in the history can carry your own tags — a project name, a character, an art direction, a client, whatever helps you find it again. Add or edit tags directly on the image in the results grid; existing tags are suggested as you type, so your vocabulary stays consistent instead of fragmenting into near-duplicates.
Click any tag shown on an image to add it to the search query. Clicking a second tag narrows the search further — tags combine, so you can drill down from "all backgrounds" to "the forest backgrounds for the platformer" in two clicks.
Filtering by date
The search bar also carries a Date range filter. Set a From and To date to restrict the history to images created within that window — useful when you remember roughly when you made something but not what you called it. The range is inclusive on both ends, and it resets when you reload the page so a forgotten filter never silently hides your work.
Paging through results
The history is paginated below the grid. Use the page controls to move through it, and the page-size selector to choose how many images you want to see at once. Your preferred page size is remembered for next time.
Step-by-step guides are on the Image Generator docs page.